The underlying issues
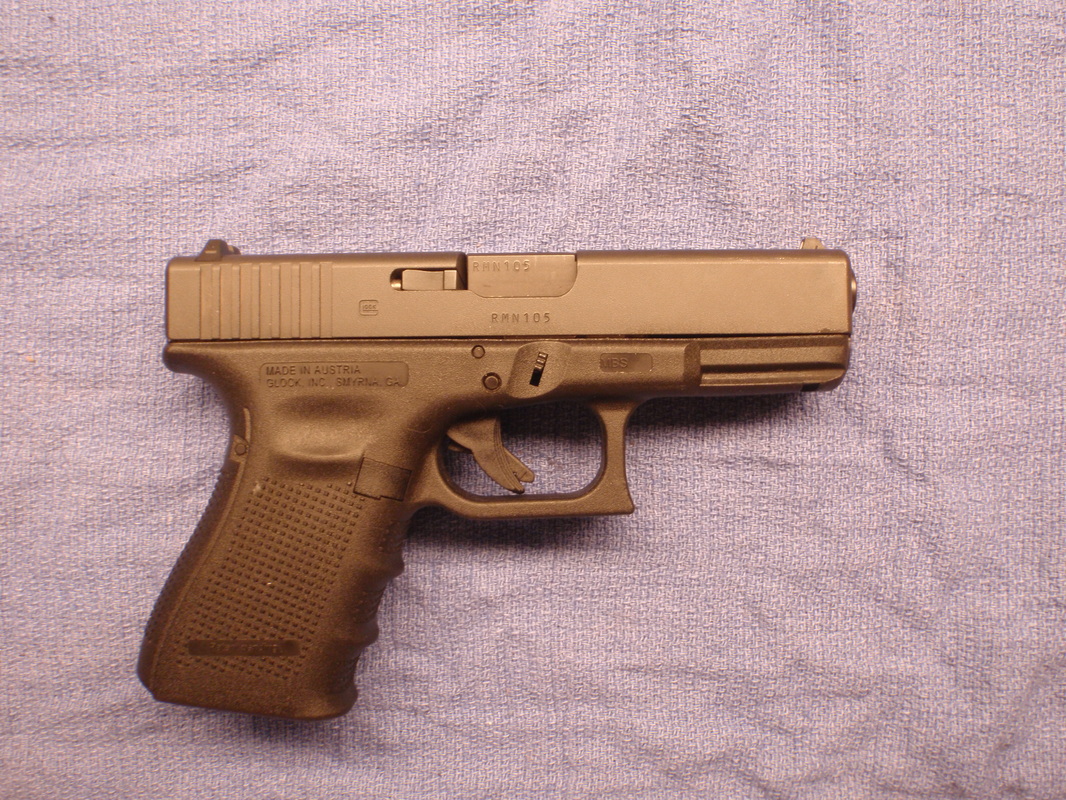
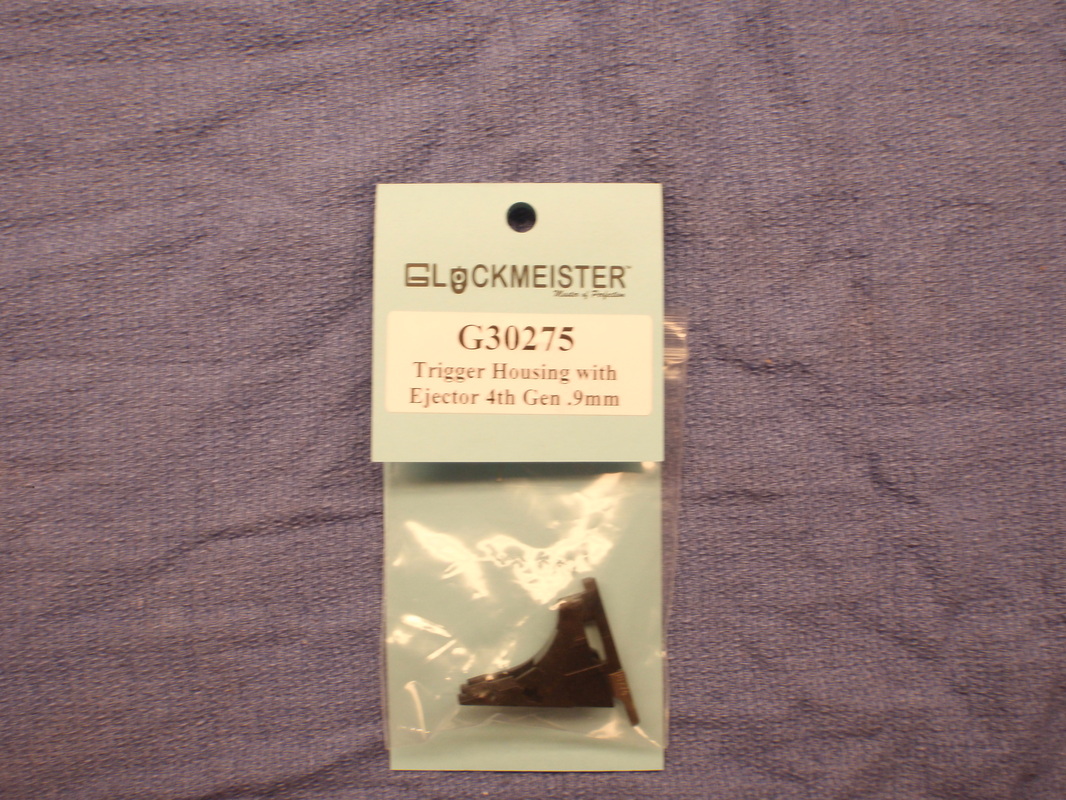
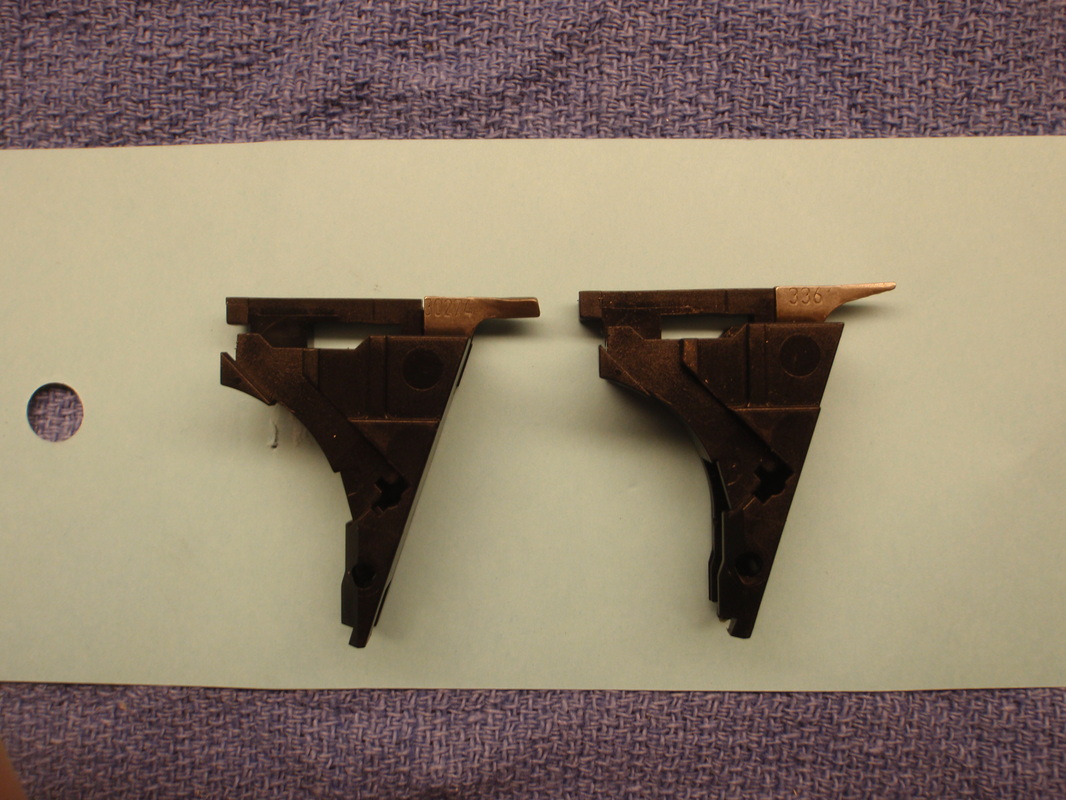
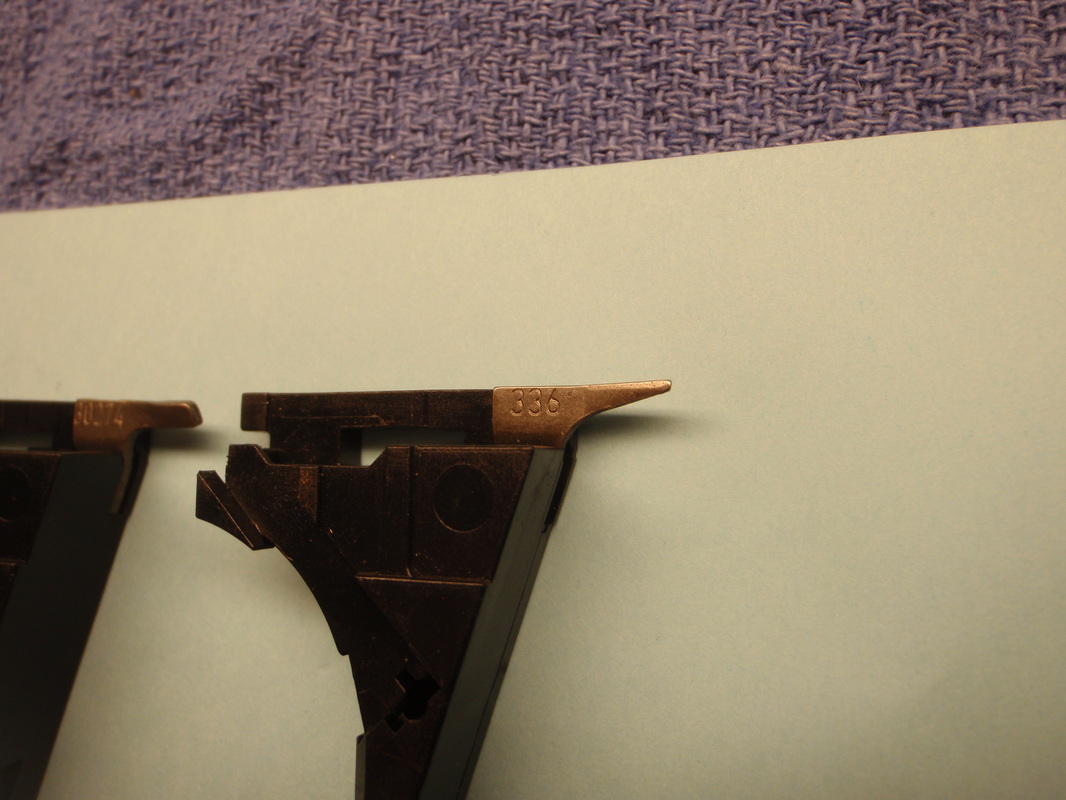
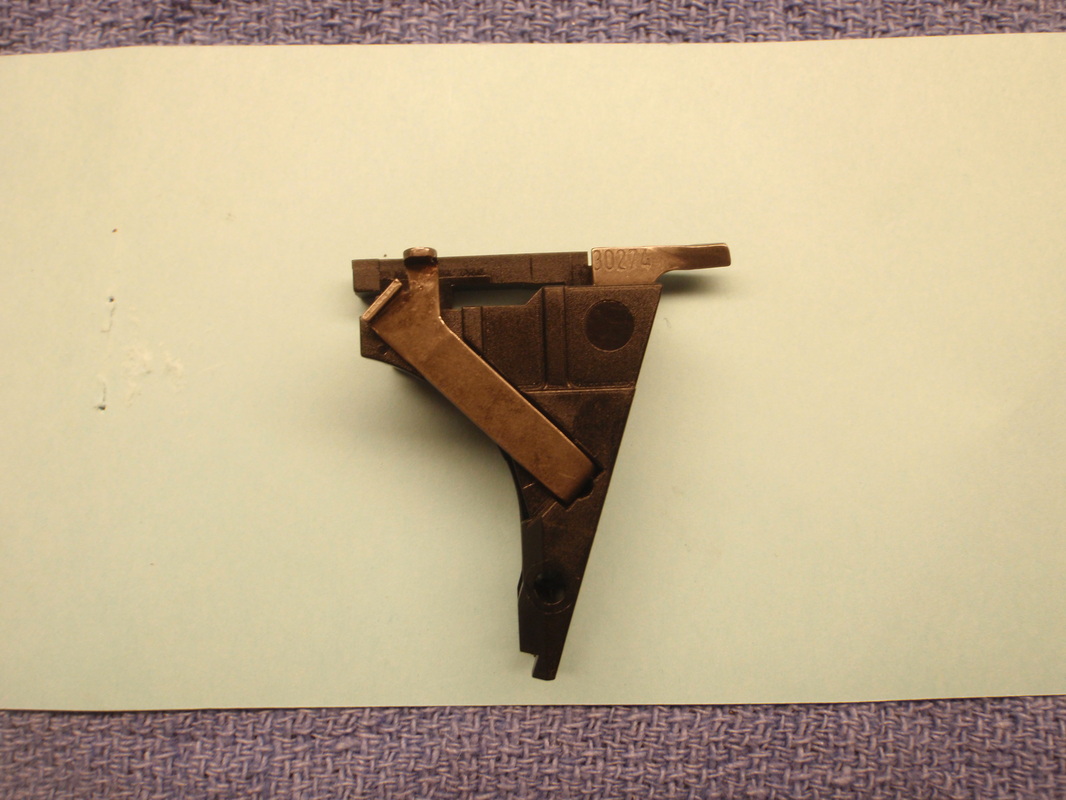
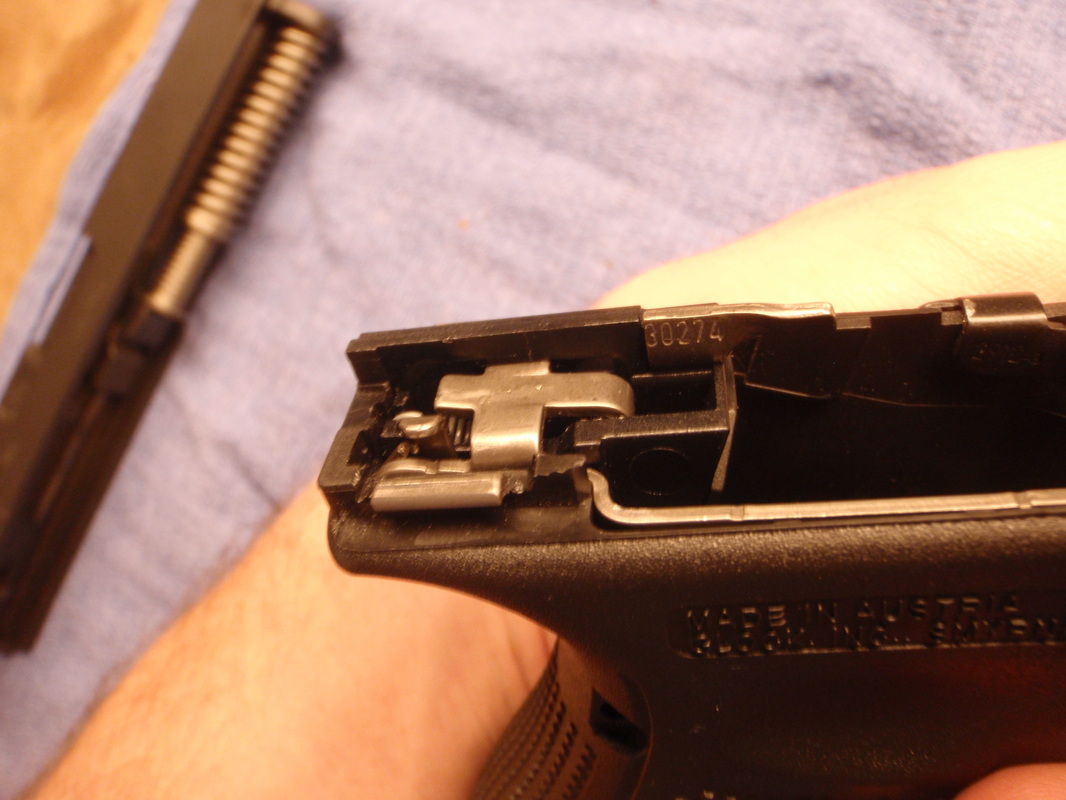
The consensus is the bulk of the problem lies with the "Trigger housing with Ejector" assembly. The alleged problem ejectors, have the part number 336, and this supposedly lead to the brass to face, and erratic ejection issues. I looked at my Glock, and sure as shit, it has the 336 "Trigger housing with Ejector". Supposedly, Glock later changed to the 30274 "Trigger housing with Ejector" assembly in the Generation 4 guns, and that remedied the brass to face issues. After a few minutes of looking, I located the part (Glock part number 30275) which is stamped 30274. I placed the order from Glockmeister and a few days later had the supposed remedy for the princely sum of $7 (plus shipping of course).
Now, there are reports it could be the extractor as well, but I figured we would go with the likely culprit, since the Ejection seemed to be an issue.
Replacing the Glock "Trigger Housing with ejector"
Now, before your proceed, I must give a word of caution. Of course, Glock recommends that you only have work performed on your firearm by a Glock Certified Armorer, using the proper approved Glock tools.
So, that being said, here is what you need to perform this parts swap.
1: Glock part 30275 "Trigger housing with ejector" 4th Gen 9mm
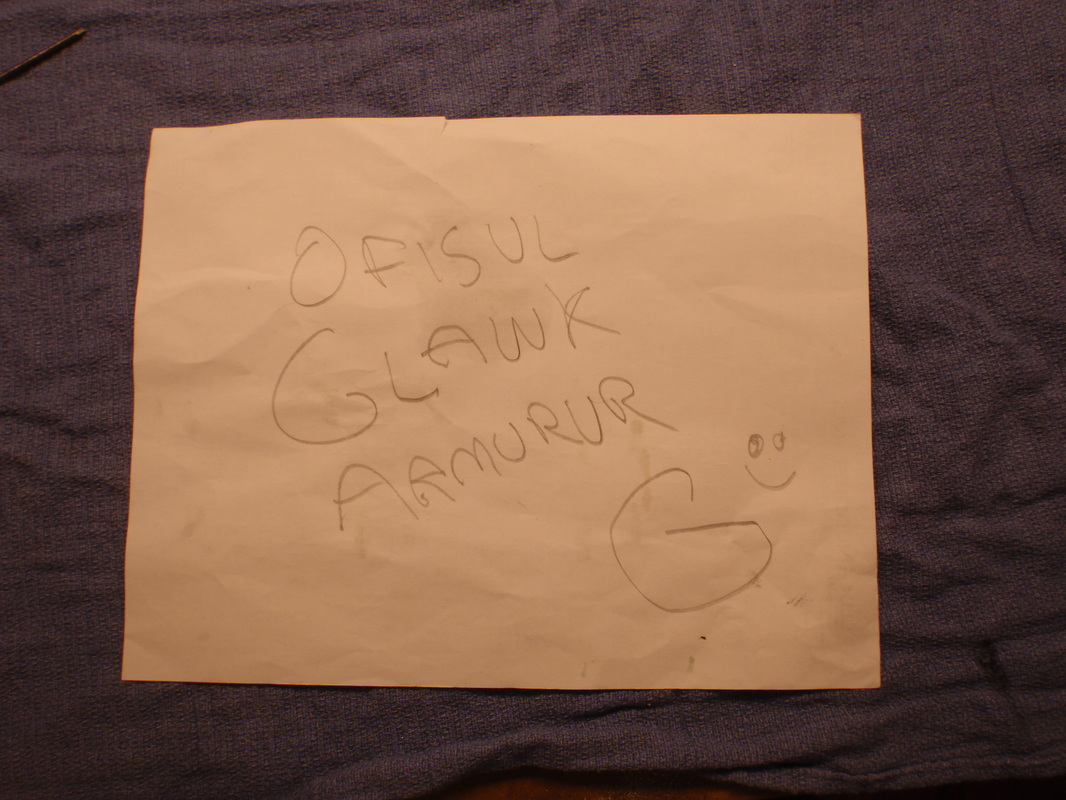
2: "Glock Certified Armorer credentials"
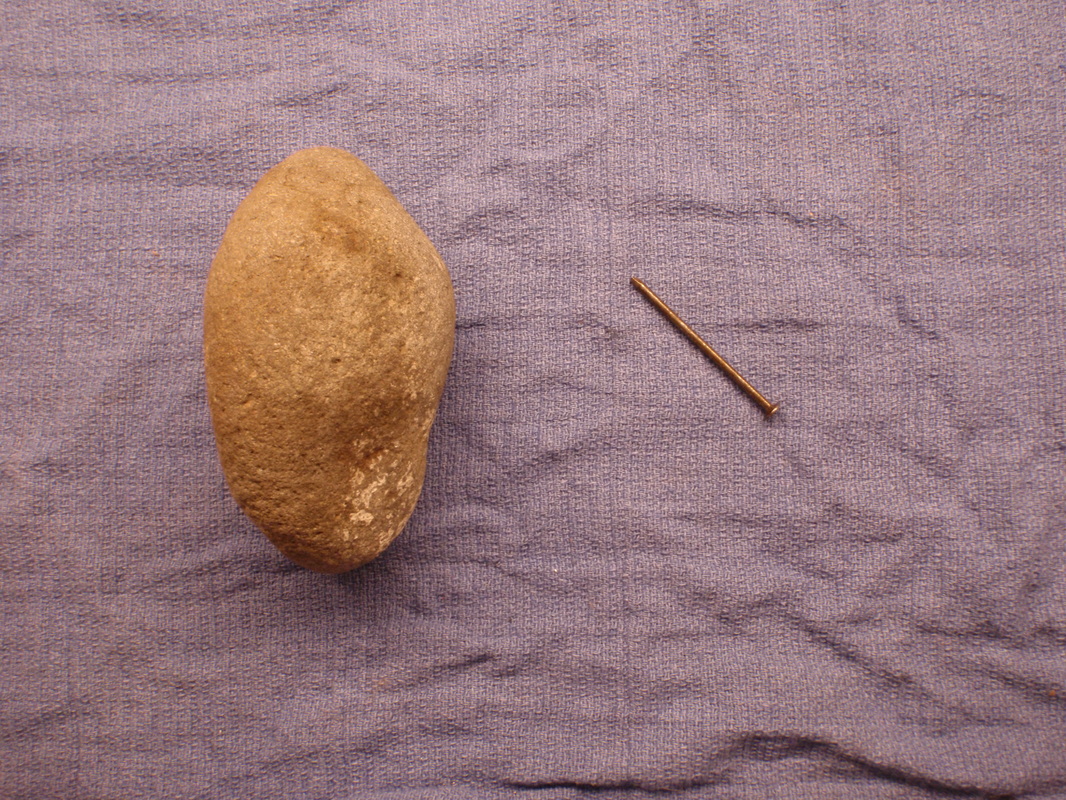
3: "Glock armorer tools"
Step One: Unload and disassemble your pistol
- Take your UNLOADED pistol, retract the slide back slightly, and pull down on the disassembly tabs with your other hand. Keep the tabs pressed down, let the slide forward, and pull the trigger. It is not rocket surgery here, it is a Glock afterall.
Now, if that was too much for you, then it is more than likely you wear shoes with Velcro straps, and cannot ride a bicycle, let alone operate a motor vehicle.
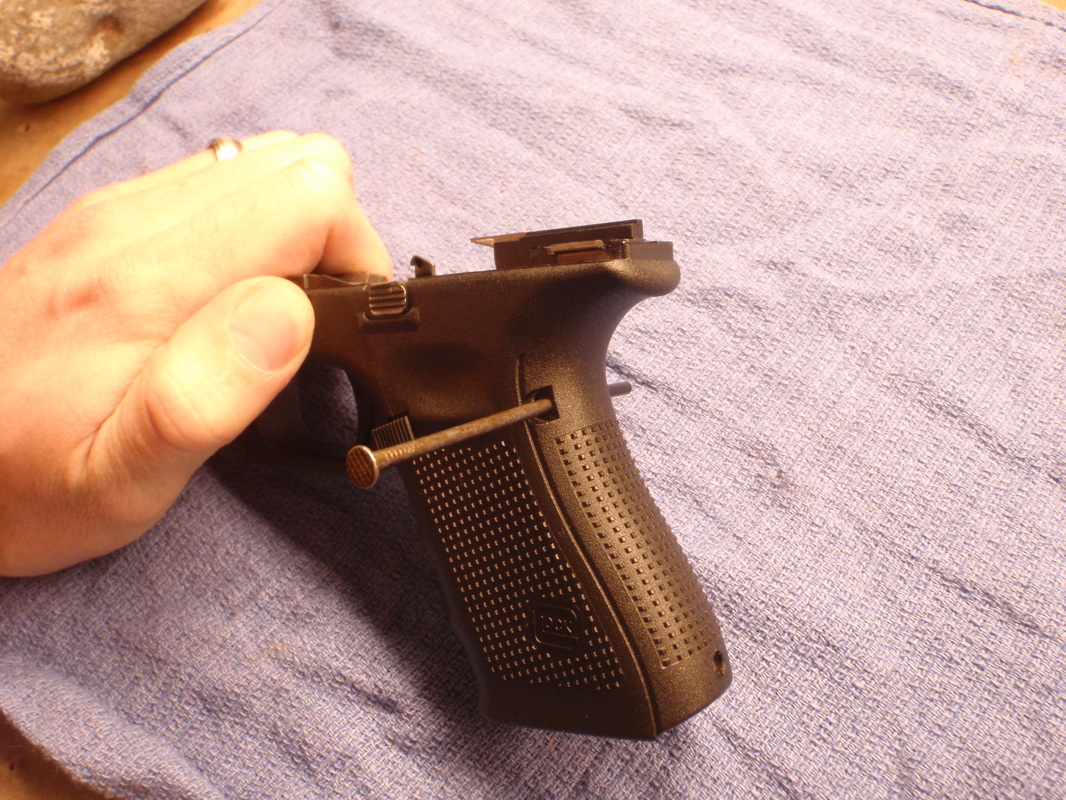
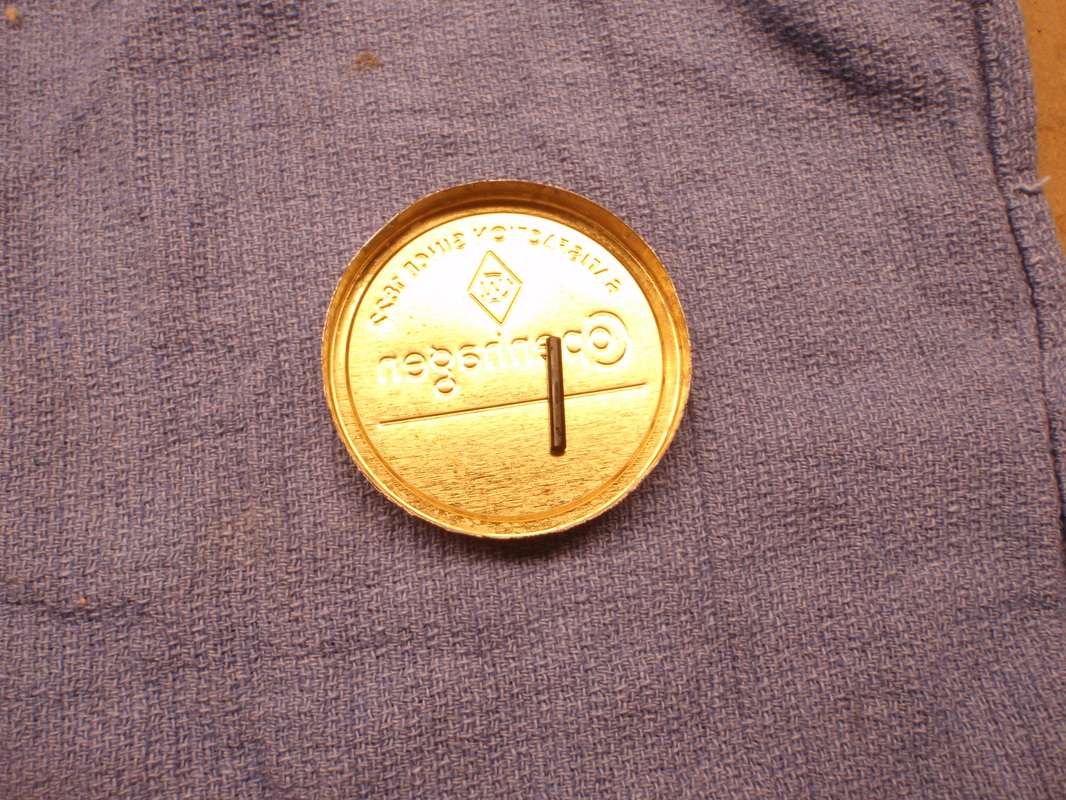
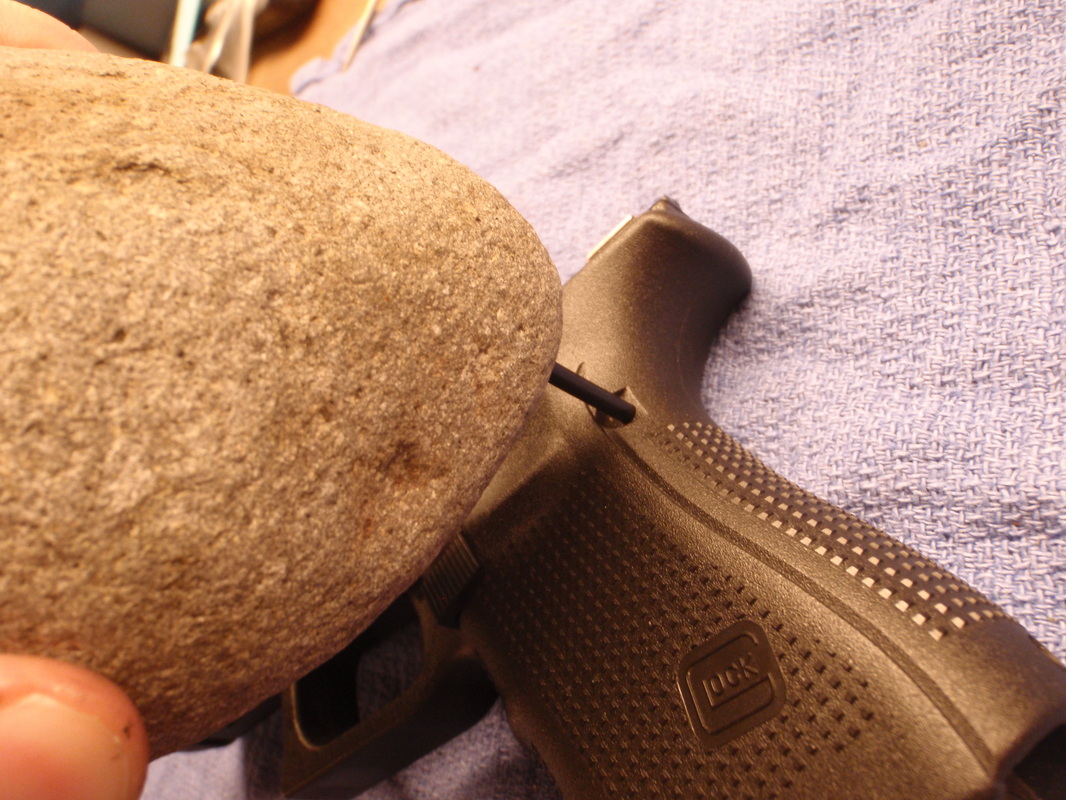
Step two: Drive pin out of the grip
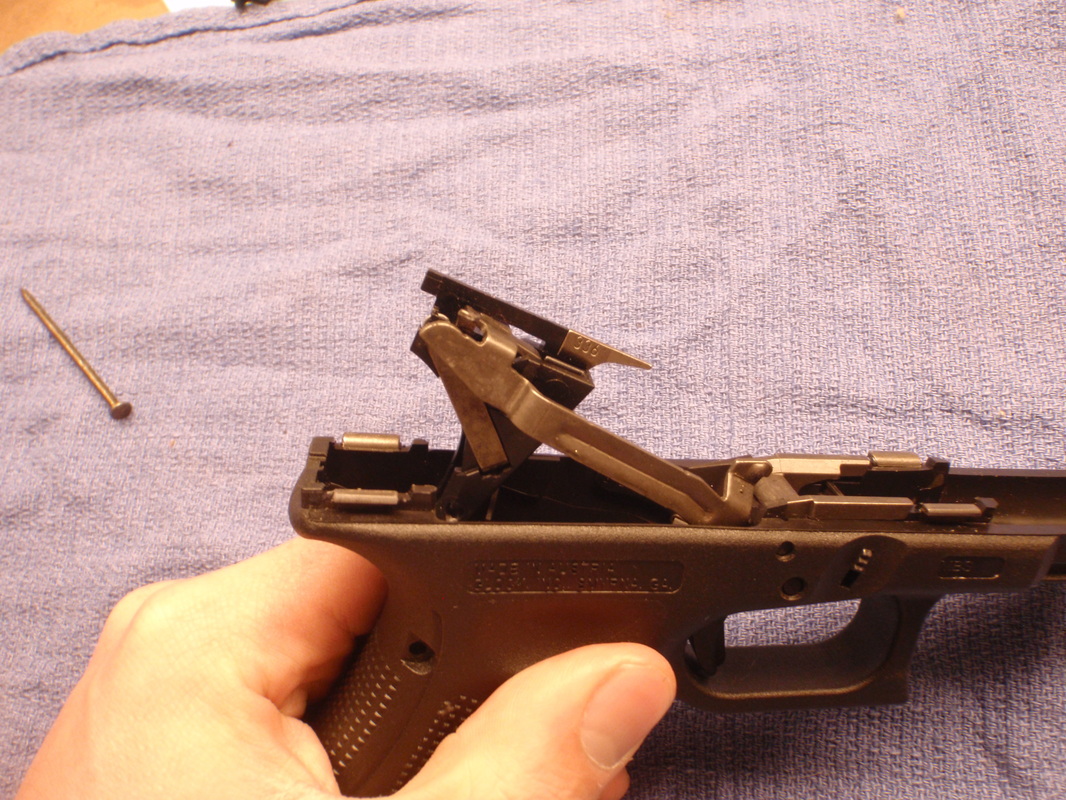
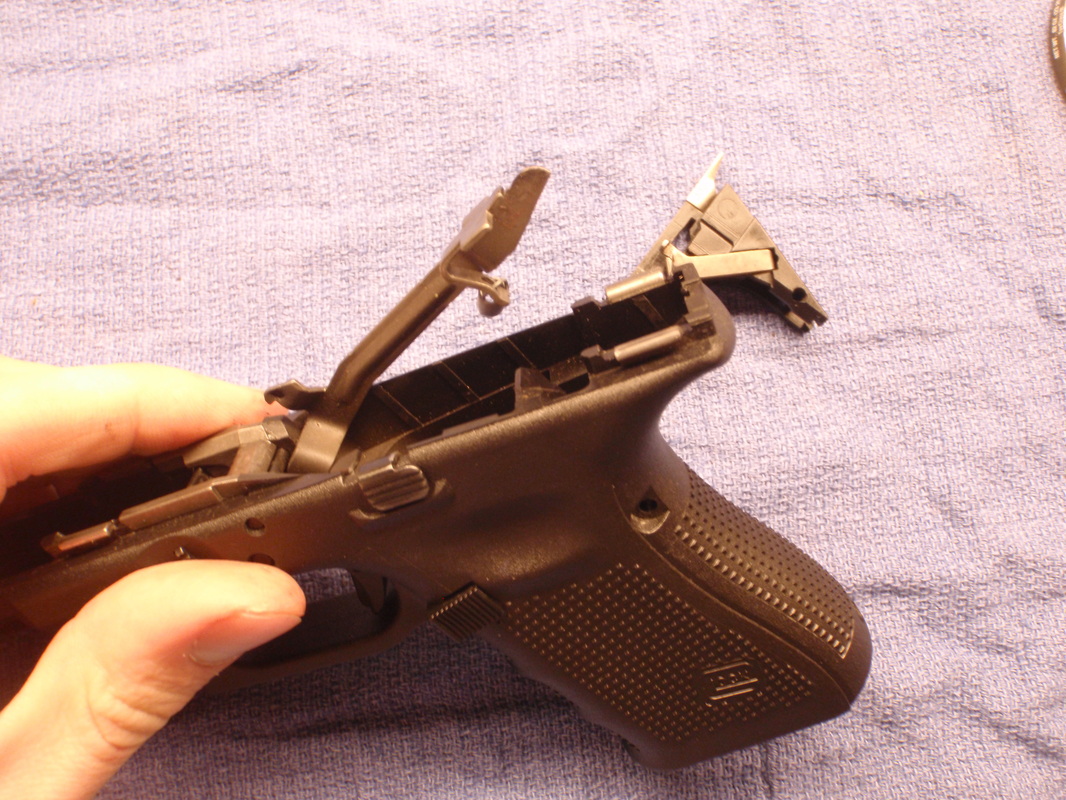
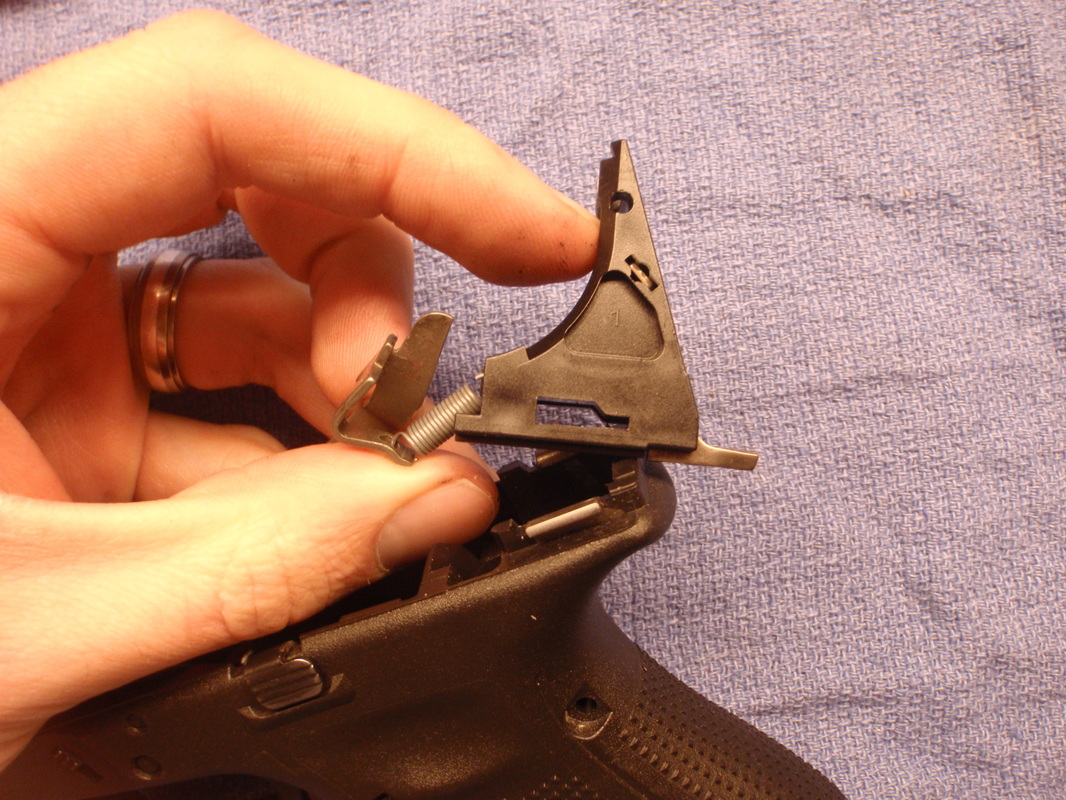
Step Three: Remove "Trigger housing with ejector"
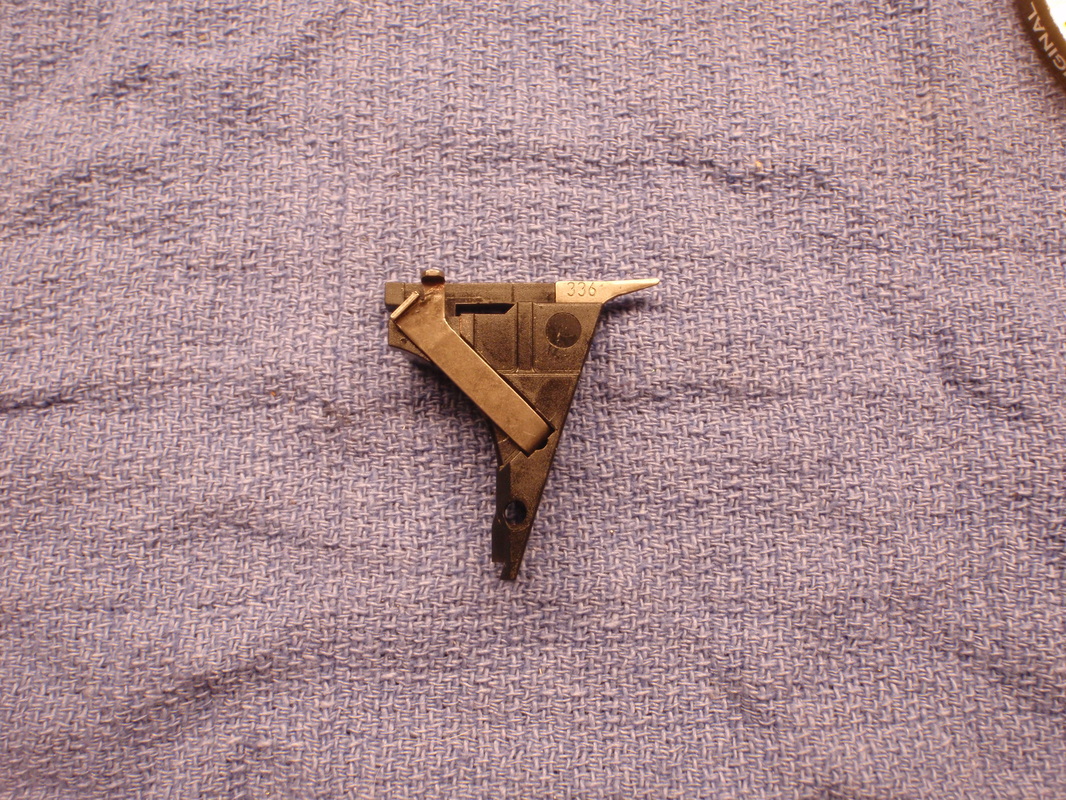
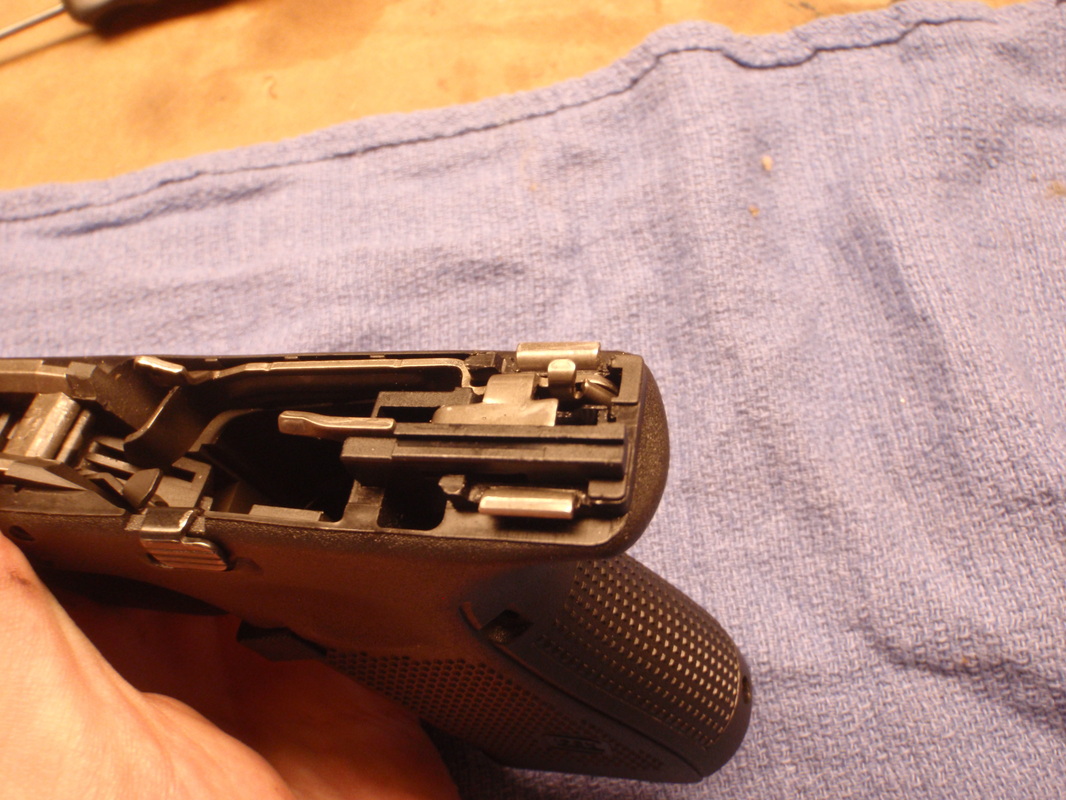
To be honest, you probably should remove the trigger to remove the "Trigger housing with Ejector" properly. But since my Glock Certified Armorer certificate is written in pencil, I just wiggled shit around until it came off, which took a few seconds, and didn't break anything in the process. After that, I left the spring on the trigger bar, and it looked like so.
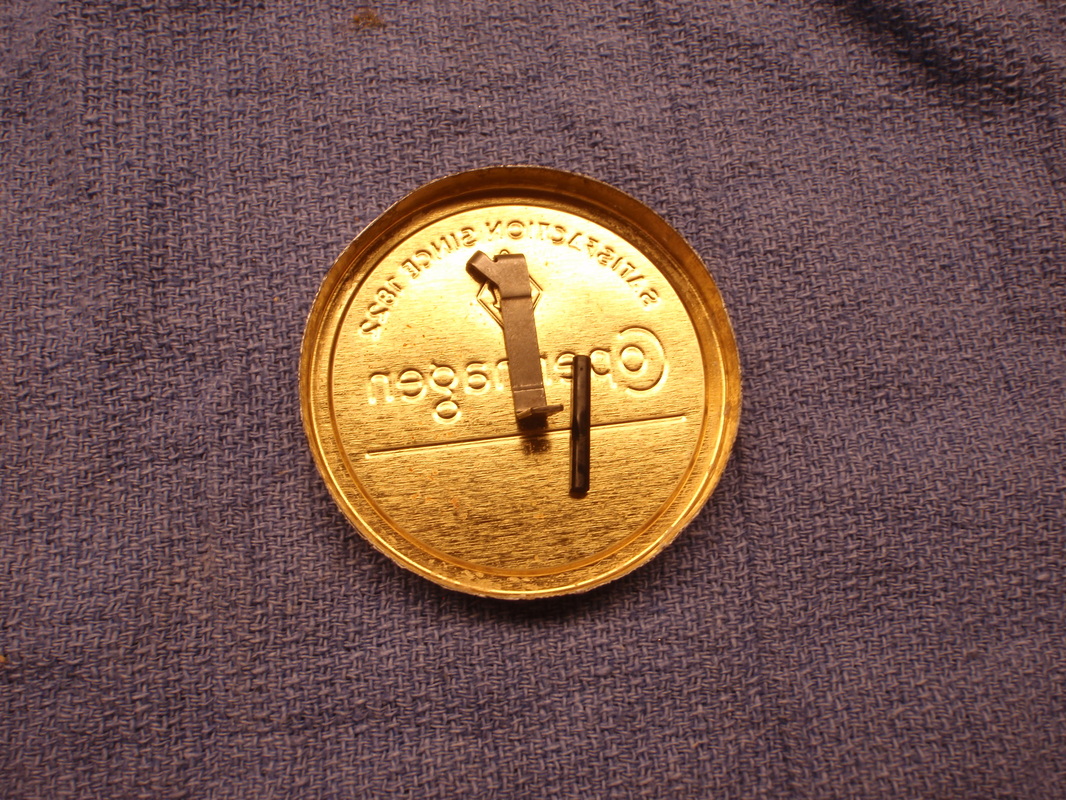
Step four: Remove connector from "Trigger housing with Ejector"
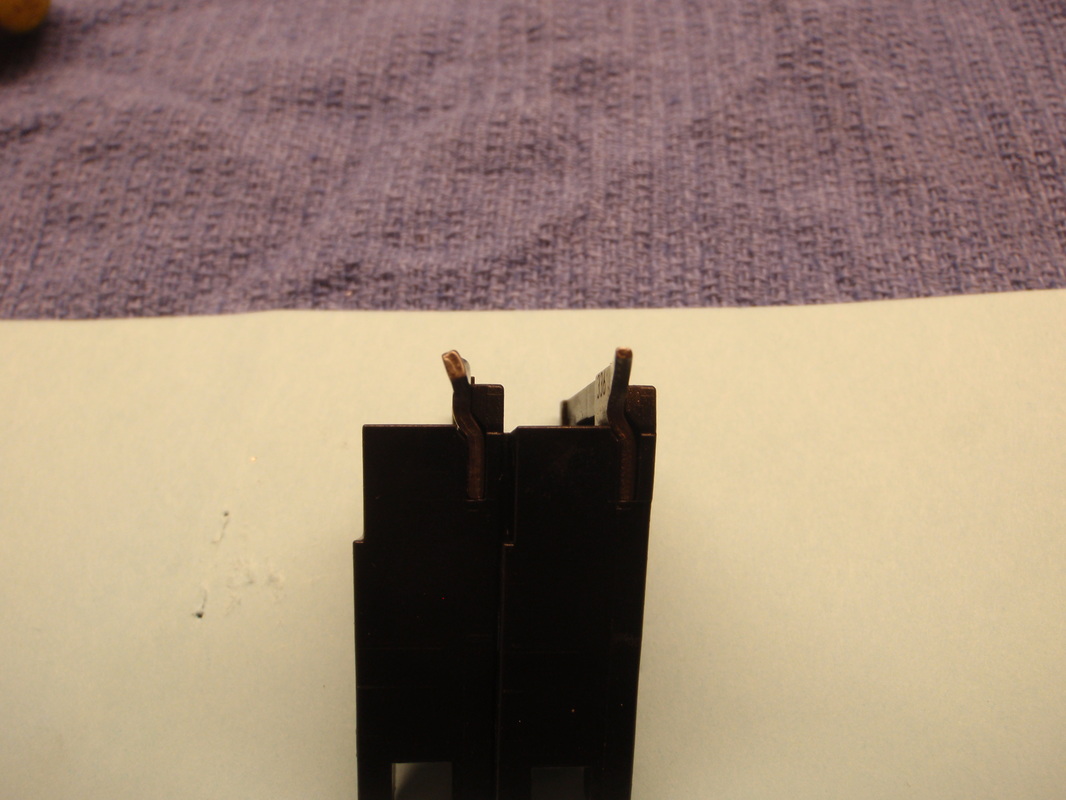
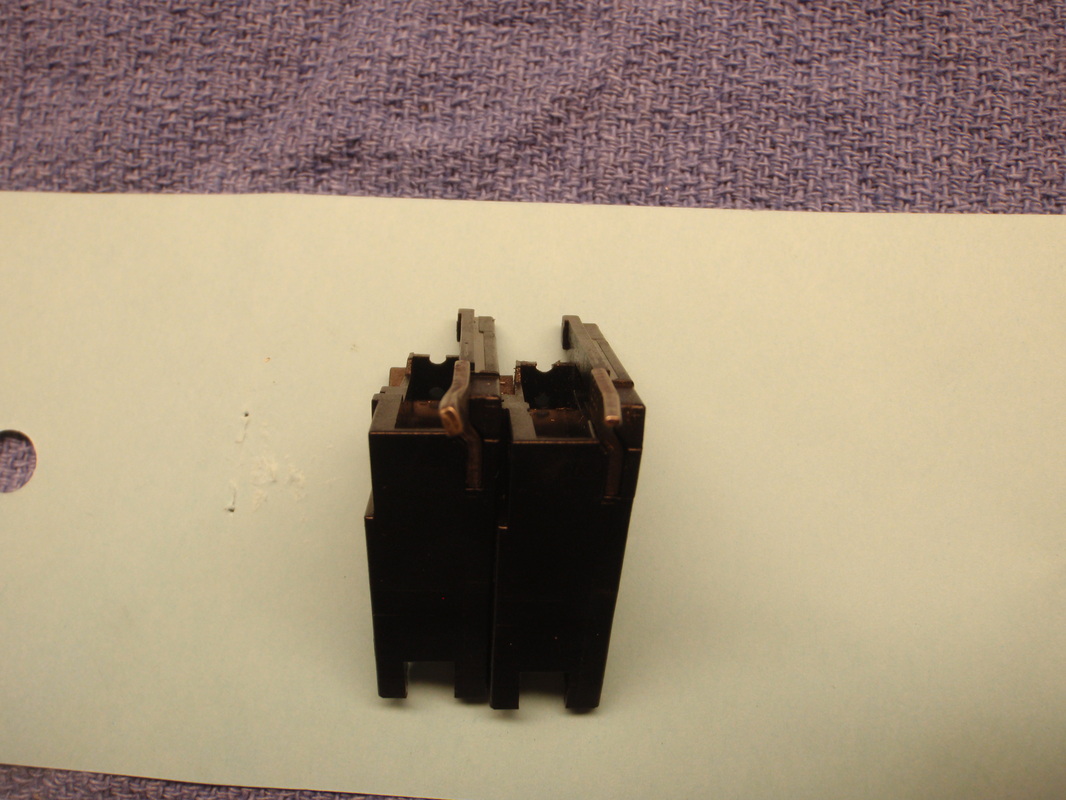
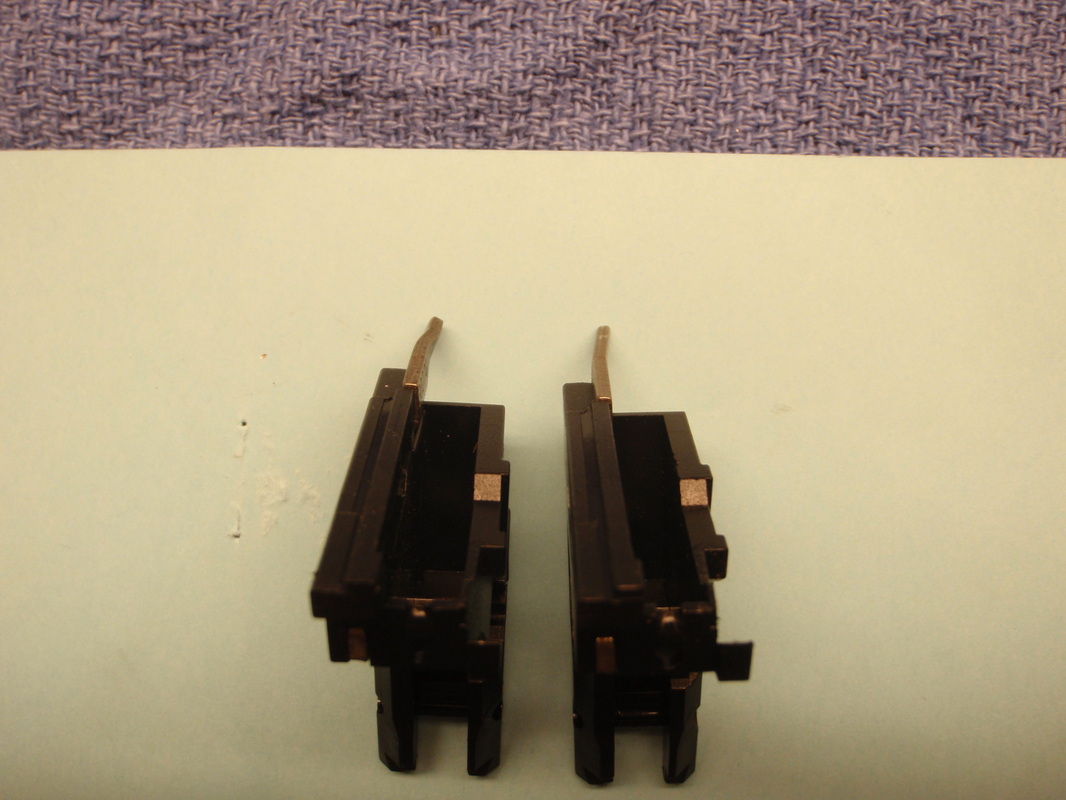
Comparison of "Trigger housing with ejector" variants
Step five: Place connector into 30274 "Trigger housing with ejector"
Step Six: PLace Trigger housing with Ejector back into frame
Step seven:??????
Step eight: Profit!
Now, if your pistol is not working, go back over the instructions, and see what you missed. Glocks are simple creatures.
Here within the next week I am going to go out and see if I keep taking shots to the face like Sasha Grey. I certainly hope not, but we shall see!
EZ
